I can't believe I never wrote this up, but I've been using the Software Update Server included with Mac OS X Leopard Server since I upgraded the servers at my old job. If your network — or Apple's servers — are ever slow to get updates, having your own centralized SU Server can make a world of difference. But it's most useful when you have a bunch of Macs you need to update all at once. Try doing ten or so over the Internet at the same time. You'll get errors and failures, and you'll kill your network pretty quickly as all those updates come in at once. But updating a lab full of Macs from your own dedicated Software Update Server will not only not fail, it'll actually be quite fast since your using only internal bandwidth, of which you should have plenty. Setting one of these up is pretty easy, but there are a couple gotchas I always have to remember. So here we go.
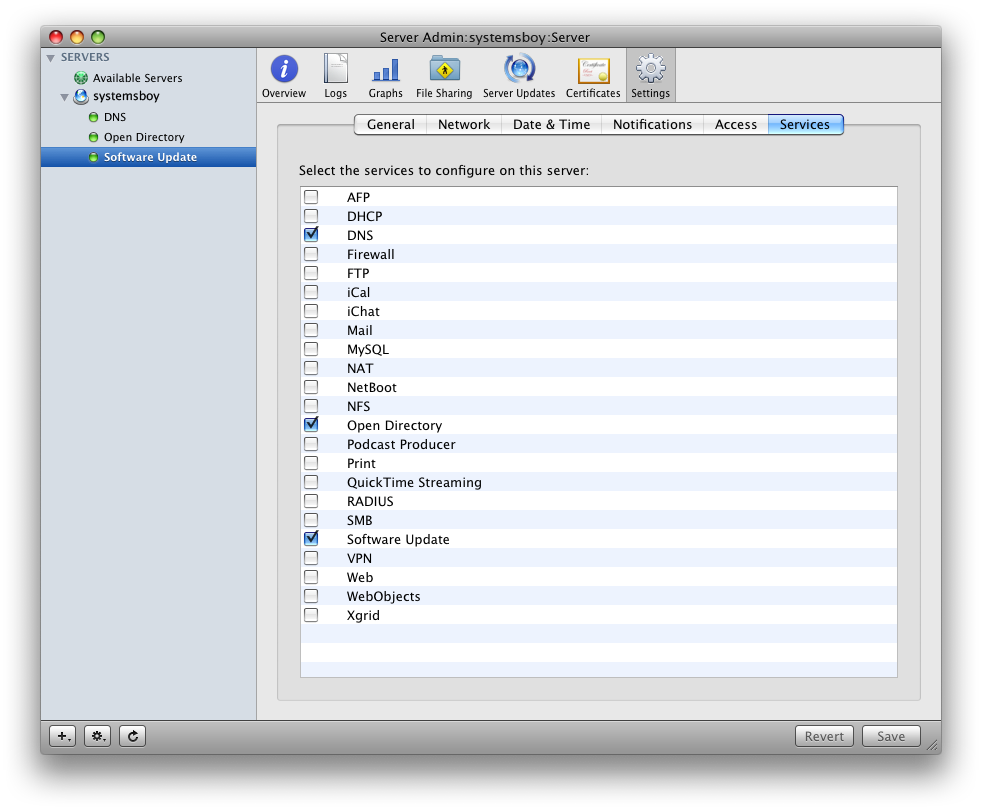
- Activate the service in Server Admin.
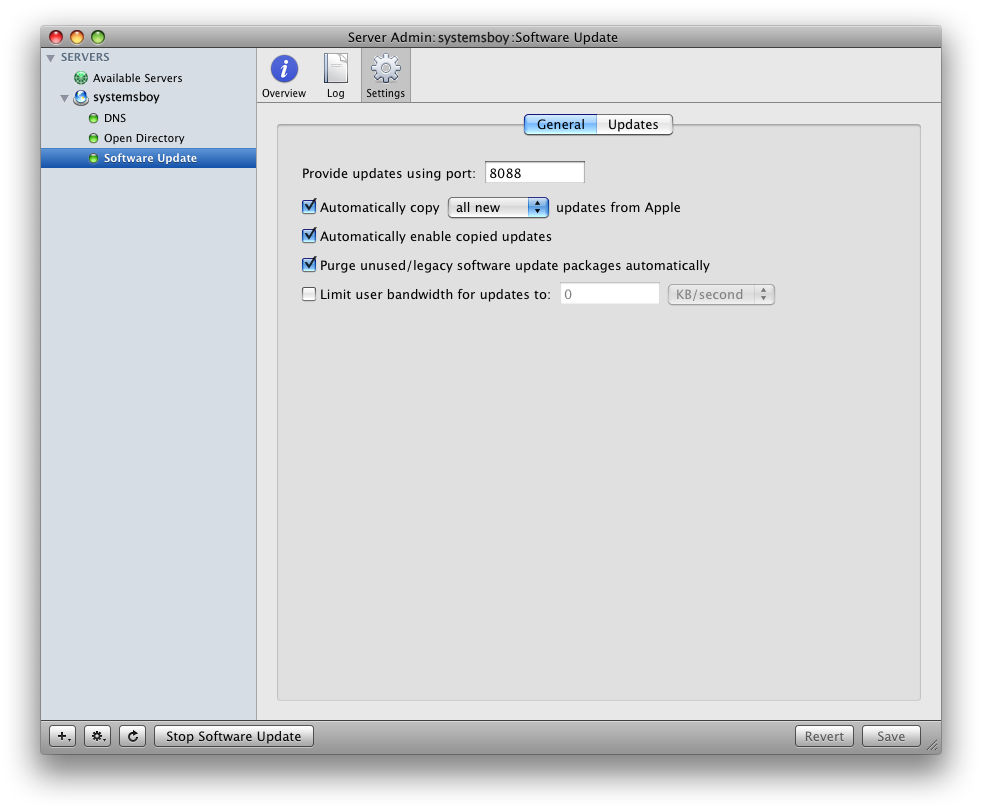
- Configure the service. I like to configure the SU Server to "Automatically copy all new updates from Apple." This is the easiest, and I like things easy. But otherwise I use the default settings.
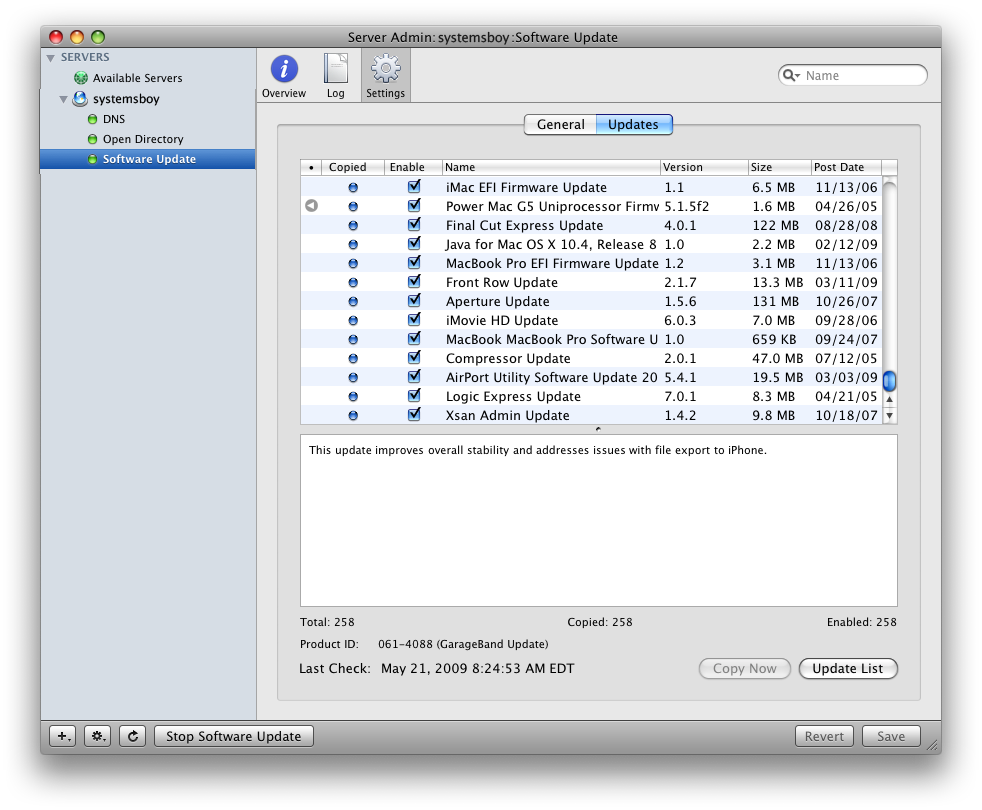
- Start the service and list the updates. And here's one of the gotchas: when you first start the service there is no indication that anything is happening. There is no progress bar and nothing will appear in the list of updates. But in fact the SU Server is downloading all the updates (several Gigs) in the background. The easiest way to prove that this is actually happening is to run the df command, then run it again. You should see your root drive getting gradually fuller as the server downloads the updates. This first download will take a long time. I like to let it go overnight.
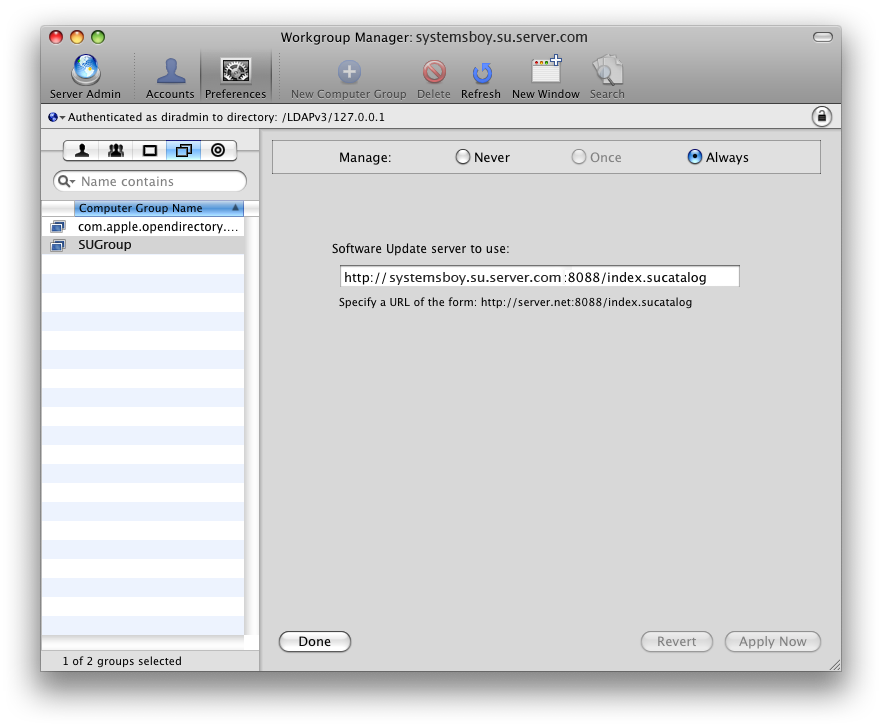
- When you return the next morning, the list should be populated with all the available updates, as seen above. (Also, you see about 10-15 GBs of data in the Software Update Server's data store, which is here: /usr/share/swupd/html/content/downloads/.) The last step then — and the thing I often forget — is to tell your client Macs where to get their Software Updates. To do this you'll need a computer list in Workgroup Manager. Add any computers you want to use your SU Server to the list. Then go to the Preferences pane for the group and select Software Update. Set the URL for the SU Server to: http://server.domain.com:8088/index.sucatalog
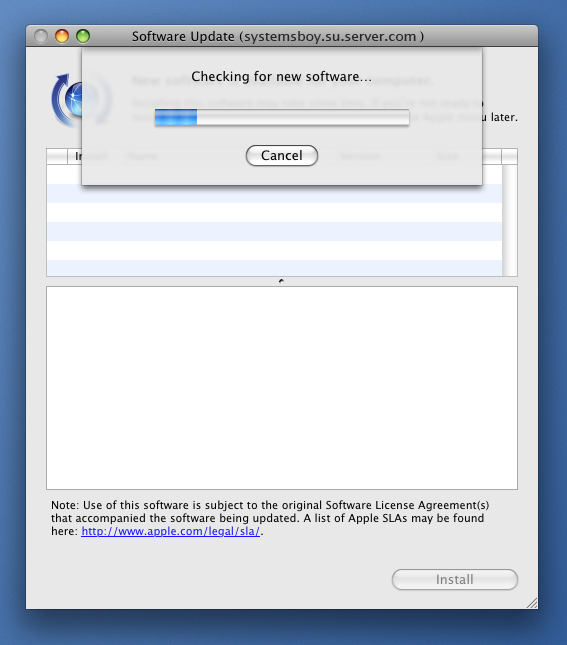
- After saving that configuration, logging out and logging back in should be all you need to do on your clients to pick up the server. After doing so, run Software Update and you'll see the name of your SU Server in the menubar of the interface. This confirms you're successfully getting updates from the server.
Congrats! You're not a total moron. Enjoy!
UPDATE:
Reader Dennis points out in the comments that individual clients can be configured to look to the SUServer for updates without being part of a WGM group or managed by the server at all. This is done by modifying a preference on the client system, which you would do thusly:
sudo defaults write /Library/Preferences/com.apple.SoftwareUpdate CatalogURL "http://systemsboy.su.server.com:8088/"That command can, of course, be sent en masses using Apple Remote Desktop's "Send Unix Command" directive.
And, if you want to revert to the standard method of checking for updates, looking at Apple's servers, delete the "CatalogURL" entry in the preference file by running:
sudo defaults delete /Library/Preferences/com.apple.SoftwareUpdate CatalogURLThanks for the tip, Dennis!

